




Most home vocal recordings fail long before anyone reaches for an EQ. The microphone picks up the singer, certainly, but it also picks up the back wall, the fridge humming two rooms away, and a laptop fan that seemed silent until you pressed record. A clean take is mostly about controlling three things: the room, the microphone position, and the way you perform into it. None of them require expensive gear.
Sort the Room Before You Touch the Microphone
Stand in your recording space and clap once. If you hear a quick flutter or a metallic ring, the microphone will hear it too, on every take. Small rooms with parallel walls and hard floors are the usual culprits.
You do not need acoustic panels to make a usable space. A duvet hung behind the microphone, a rug under your feet, a bookcase, a sofa and a wardrobe full of clothes all absorb or scatter reflections. Soft furnishings do more than most beginners expect.
Where to Stand
Avoid the middle of the room. Walk a metre or so towards a corner and stand slightly off-centre, with soft material behind you and behind the microphone. Facing a bare wall is worse than facing a curtain. Do not record in kitchens or bathrooms; tiles and glass will colour everything you sing. And if you can avoid singing straight at a computer screen, do — glass and hard plastic reflect high frequencies right back into the capsule.
Choose the Right Microphone and Angle It Well
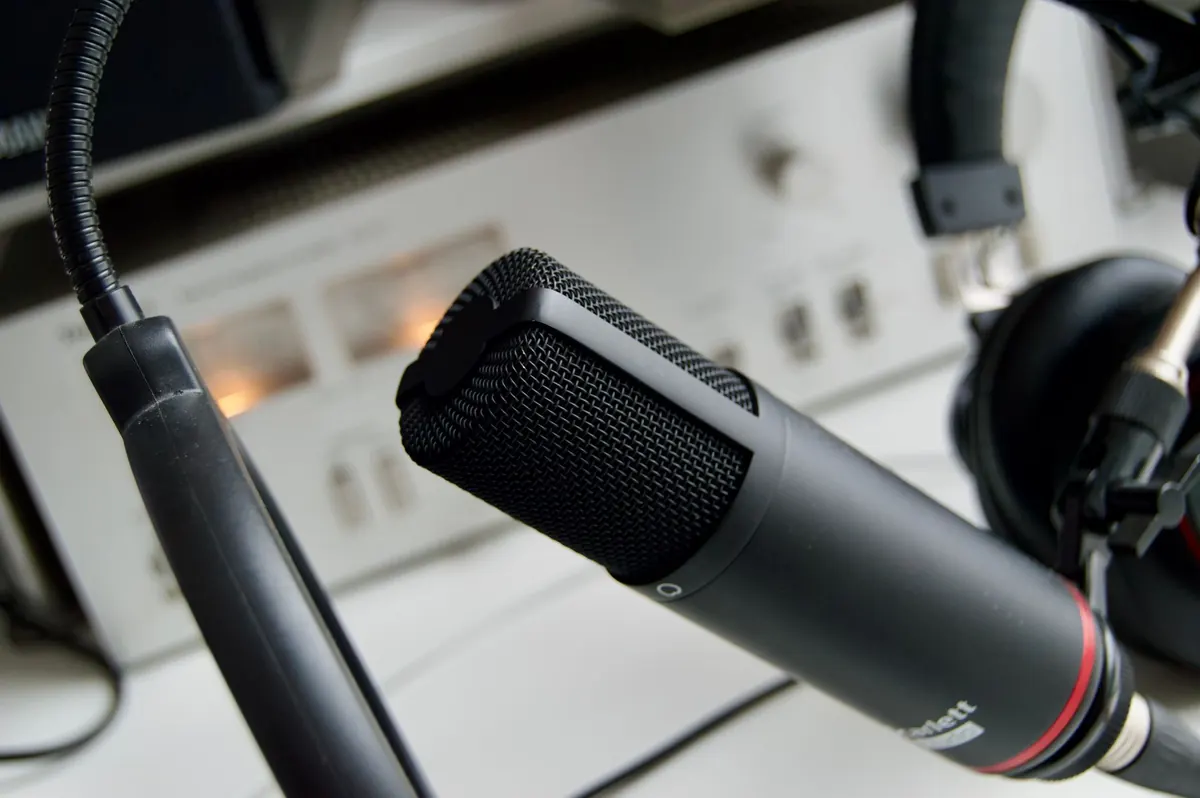
A large-diaphragm cardioid condenser is the default for vocals, and a cardioid dynamic works well in untreated rooms because it rejects more of the surrounding noise. Either will do. How you place it matters far more than which one you own.
Distance
Start with the microphone roughly 15 to 25 centimetres from your mouth. Closer gives you a fuller, more intimate sound with less room, but it exaggerates plosives and low-end build-up. Farther away sounds more natural but lets more of the room in. Quiet, breathy singers can move in; loud, projecting singers should back off.
The Off-Axis Angle
Do not sing directly into the grille. Aim the microphone at your mouth from a slight angle, perhaps 15 to 20 degrees off to one side, and position it at mouth height or just above, tilted gently downwards. This single adjustment reduces popping on P and B sounds and softens harsh sibilance on S sounds. Fit a pop filter about 10 centimetres in front of the capsule and you have a workable setup.
Stand rather than sit if you can. Sitting compresses the diaphragm and changes how you support your breath.
Set Your Levels and Strip the Signal Chain Back
Record dry. No compression, no reverb, no channel strip presets. Effects committed at tracking time cannot be undone, and a clean file gives you room to work later.
Aim for peaks around −12 dBFS, with the loudest notes never touching 0. That headroom protects you from clipping and keeps the take usable when you start mixing. Use 24-bit recording, which gives you plenty of space above the noise floor even at modest levels.
- Turn off heating, air conditioning and desk fans, or record with them off for the duration of a take.
- Put your phone on silent and close chat apps on the computer.
- Use closed-back headphones and keep the cue mix low, so the backing track does not bleed into the microphone.
- Check the take before you commit: record ten seconds, listen back on headphones, and confirm there is no hum, buzz or rattle.
- Label your files as you go. A folder of untitled takes is a problem you create for your future self.
Record in Passes, Not in One Go
Singing a whole song perfectly from start to finish is a studio skill that takes years. Build the vocal instead.
- Sing two or three full passes of the song, without stopping for mistakes. You are looking for energy and consistency, not perfection.
- Listen back and mark the lines that work. Keep a written note of the timings.
- Punch in on the weak lines, singing along with the track from a bar or two before the problem area.
- Record a few doubles — identical performances of the chorus — and any ad-libs or harmonies while the song is fresh in your voice.
Keep the microphone at a consistent distance throughout. If you drift in and out while you sing, the tone will shift from phrase to phrase, and no amount of editing will quite hide it. Mark the distance on the stand with a piece of tape if you tend to move.
Fix the Usual Problems
Plosives that thump on hard consonants are usually a placement issue: angle the microphone further off-axis before you reach for a plugin. Harsh S sounds often ease when you turn the microphone slightly and reduce how directly the air hits the capsule. A boxy, hollow tone usually means too much room, so move closer and add absorption behind you. Background hiss is almost always something in the room, not the interface.
If a problem appears on every take, change one thing and record a test pass. Changing three things at once tells you nothing.
Your First Clean Take
Set aside an hour. Treat the space with whatever soft material you have, position the microphone off-axis at a sensible distance, set your peaks around −12 dBFS and record dry. Then sing the song three times, keep the best lines and punch in on the rest. Listen back on headphones and on a separate speaker before you decide anything is wrong.
Clean takes come from repetition and small adjustments, not from buying your way out of a difficult room. Work through the steps once on a single verse. That one verse will teach you more than a week of reading about microphones.
Photo: Pexels / Pixabay